A 2×6 photo booth strip is a small keepsake, which makes layout decisions especially important. The photos need room to breathe, the event details must stay readable, and the finished print must match the booth's output. This guide walks through the practical checks to make before guests arrive.
Confirm the printer workflow first
Check whether your printer and booth software produce the 2×6 strip directly or print two strips on a larger sheet and cut them afterward. The delivery workflow affects margins, crop positions and how the design should be duplicated. Never assume that downloading a narrow-looking template means it is already configured for your particular printer. Use the output dimensions, resolution and print settings specified by the booth and printer supplier.
Choose the correct number of photo openings
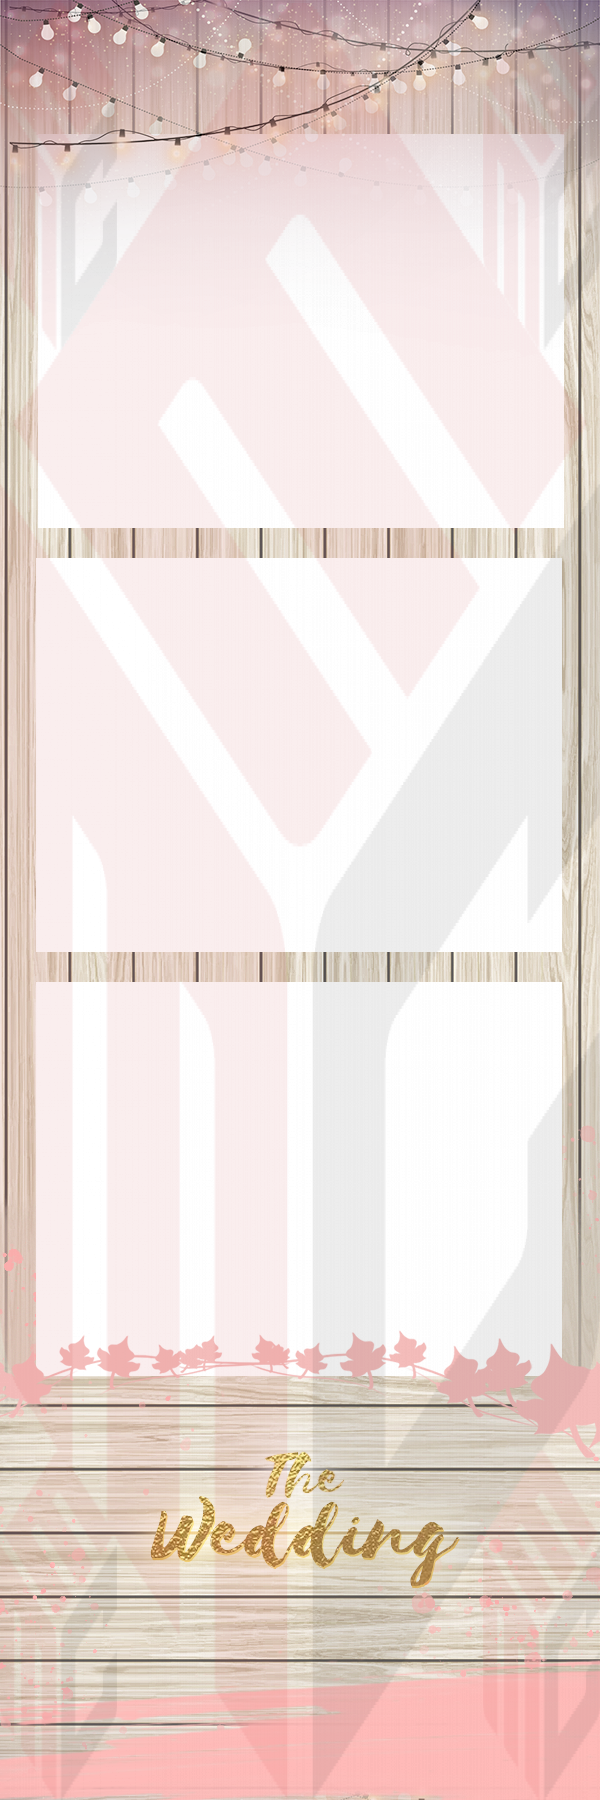
One large image creates a different experience from a sequence of two, three or four frames. Decide how many captures the booth session will take and whether each opening is the same size. Select a template with a matching arrangement rather than trying to squeeze an extra photograph into a space intended for lettering. You can compare existing options in the MyMirrorClub photo strip template collection.
Keep faces away from crops and borders
Test the real capture aspect ratio inside each opening. If the camera image is wider than its slot, the software may crop the sides. Position the subjects comfortably within the safe area, and avoid decorative frames that overlap the important portions of a face. Print a sample with several people to catch problems that a placeholder image might hide.
Make the tiny text intentional
A strip has limited width. A long sentence, two logos and several social handles can make the result hard to read. Start with a short event name and date, and use a consistent alignment. If a brand or sponsor must appear, keep it legible without reducing the photographic area unnecessarily. Check contrast and typography on the physical print rather than trusting a zoomed-in editor preview.
Run a real print test
- Load the selected template and confirm the intended print dimensions.
- Capture a test session with the same photo count guests will use.
- Check frame crops, faces, text, dates and the outer edges.
- Print using the live event printer, paper and cutting workflow.
- Keep the approved file and note the settings used for the successful test.
When you need a different orientation or a larger image area, compare the alternatives in the main photo booth templates gallery. The goal is a strip that looks intentional when someone holds it, not just when viewed on a full-size monitor.